Participant Management
Configure participant enrollment, group assignments, and study policies to support your research design.
The Participant Management tab in the study edit page allows researchers to configure settings related to participant enrollment, group assignments, and study policies. This section provides a comprehensive guide to managing participants, ensuring your study runs smoothly and aligns with your research design.
Effective participant management is critical for maintaining data quality and participant engagement. The SMAAT platform offers flexible options to accommodate diverse study designs, such as randomized group assignments or custom participant codes, while ensuring compliance with ethical standards through informed consent forms.
Study Length
Specify the duration of the study for each participant in days. This setting determines when event-based notifications, such as a debriefing survey at the study’s end, are triggered.
Recruitment Strategy
Define the recruitment period by specifying start and end dates. These dates are displayed in the SMAAT app during onboarding and on the study information page, helping participants understand the study’s timeline.
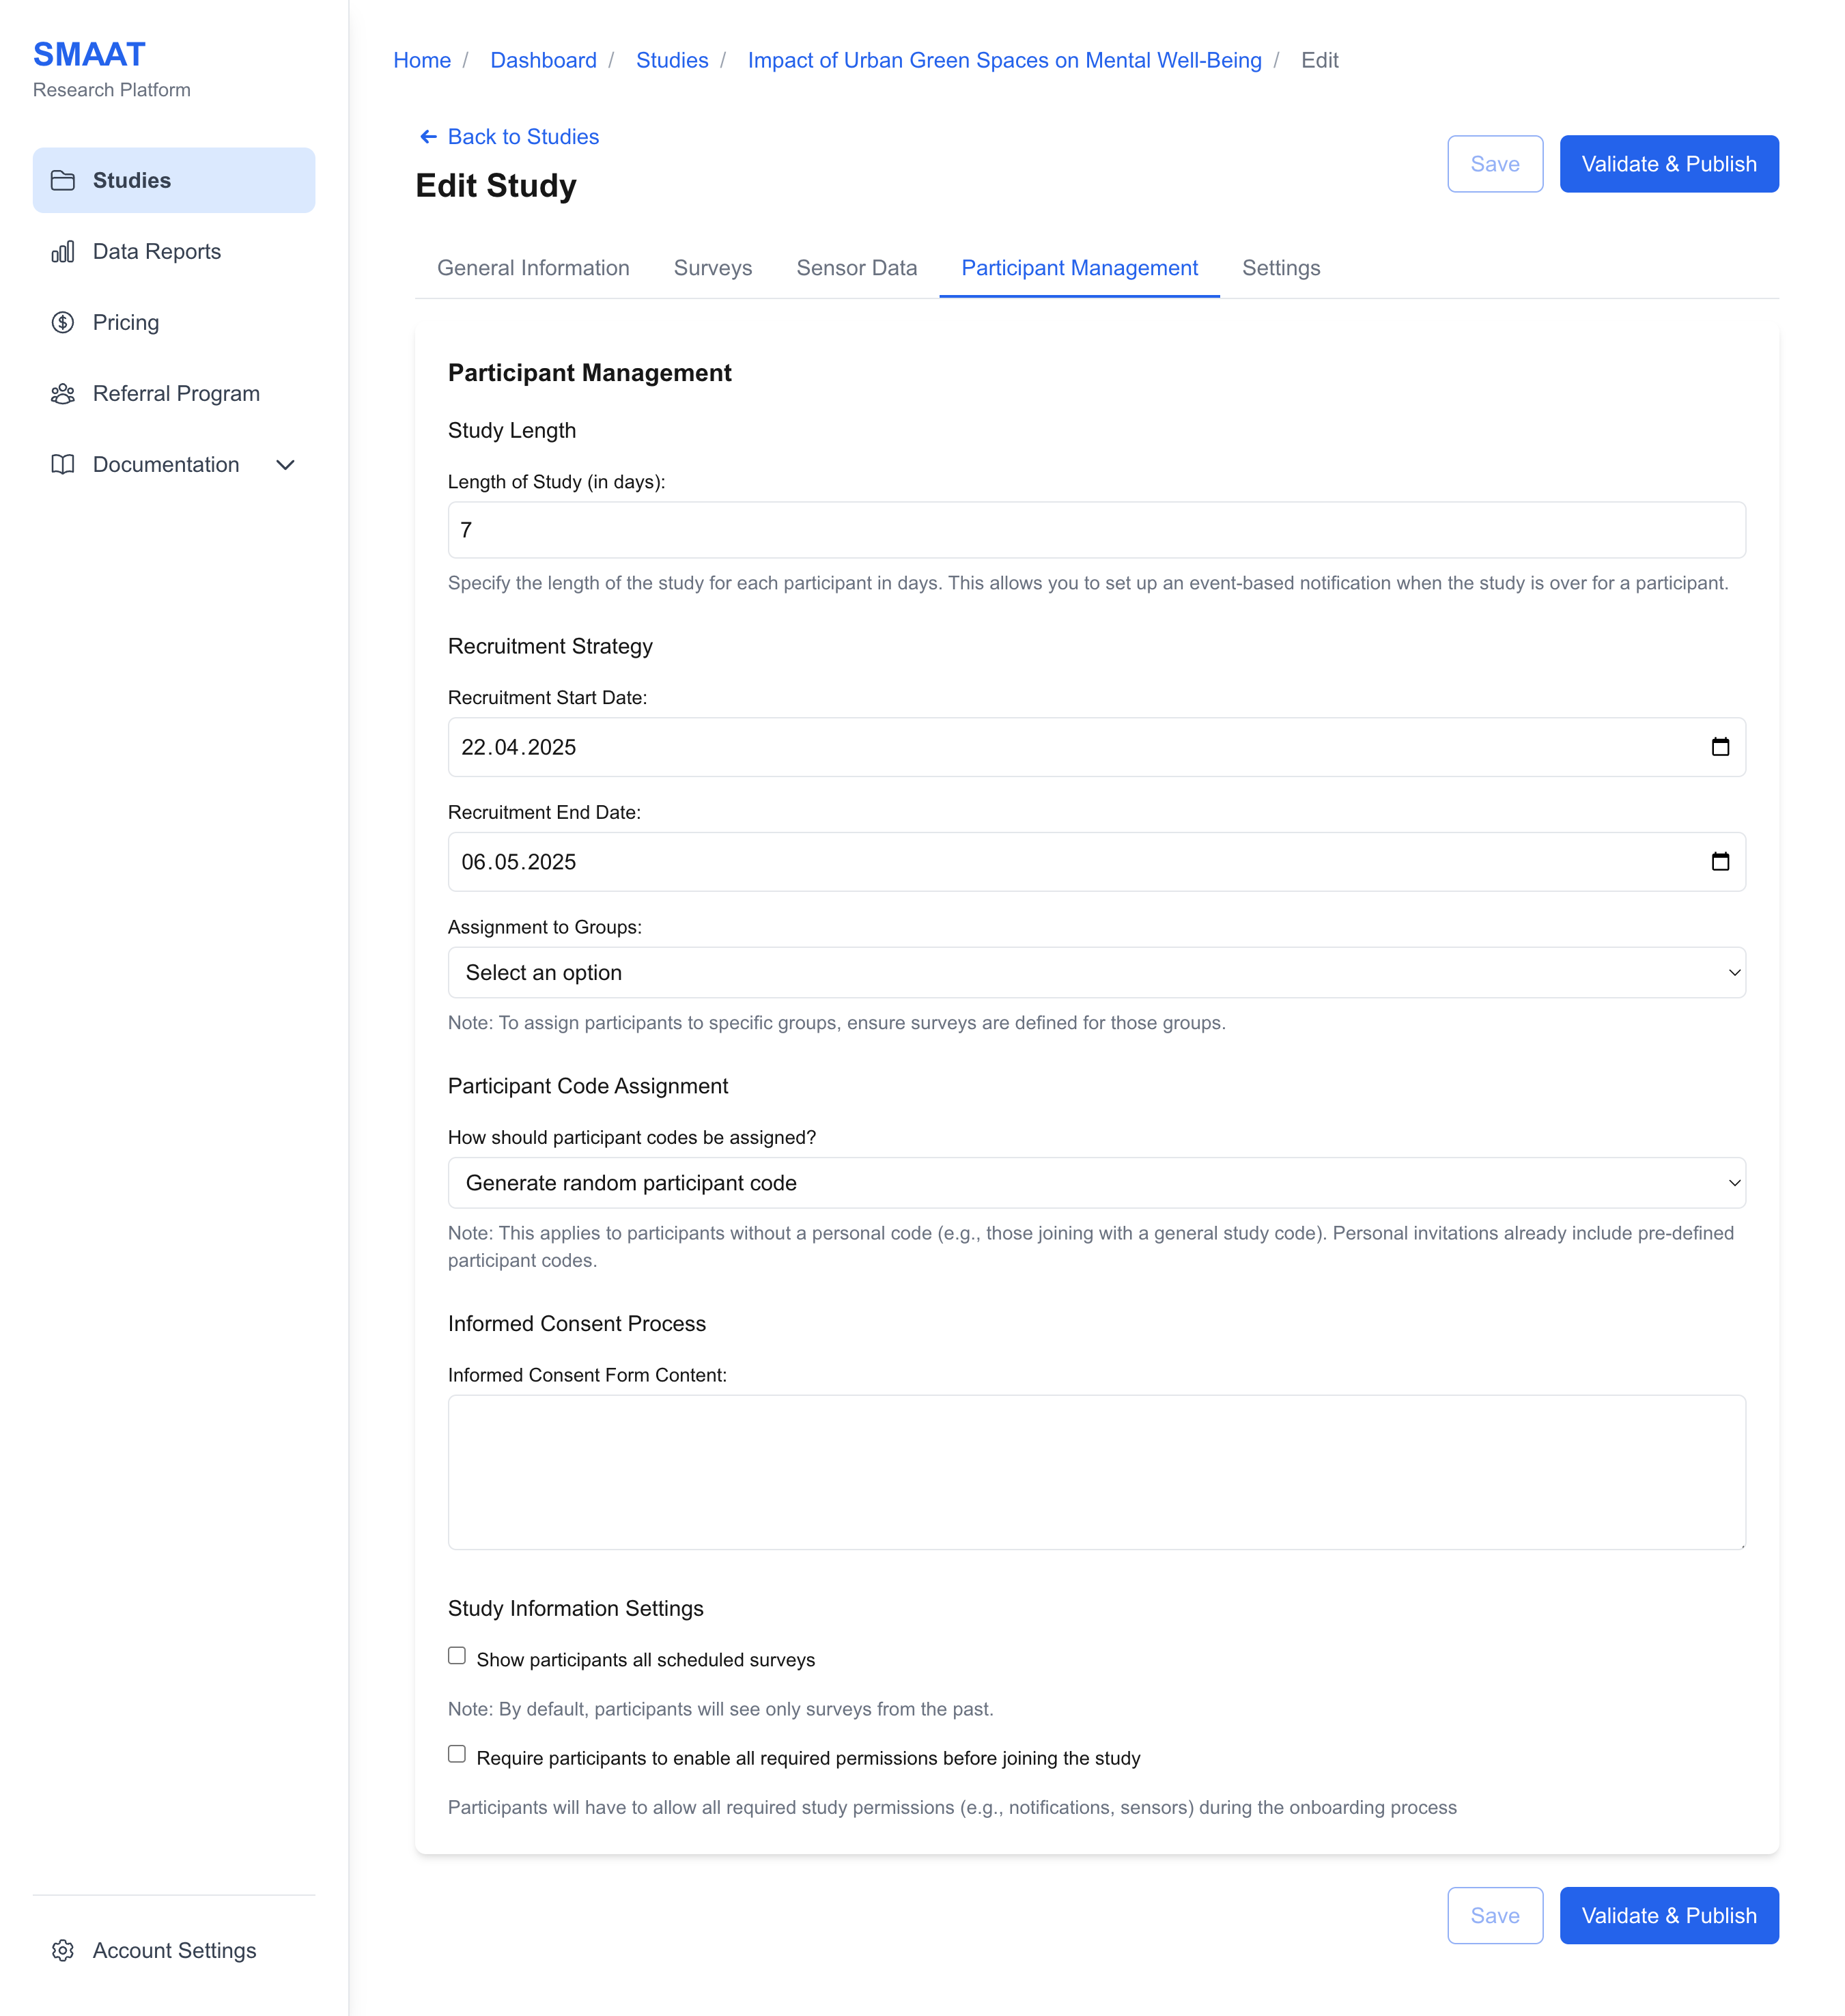
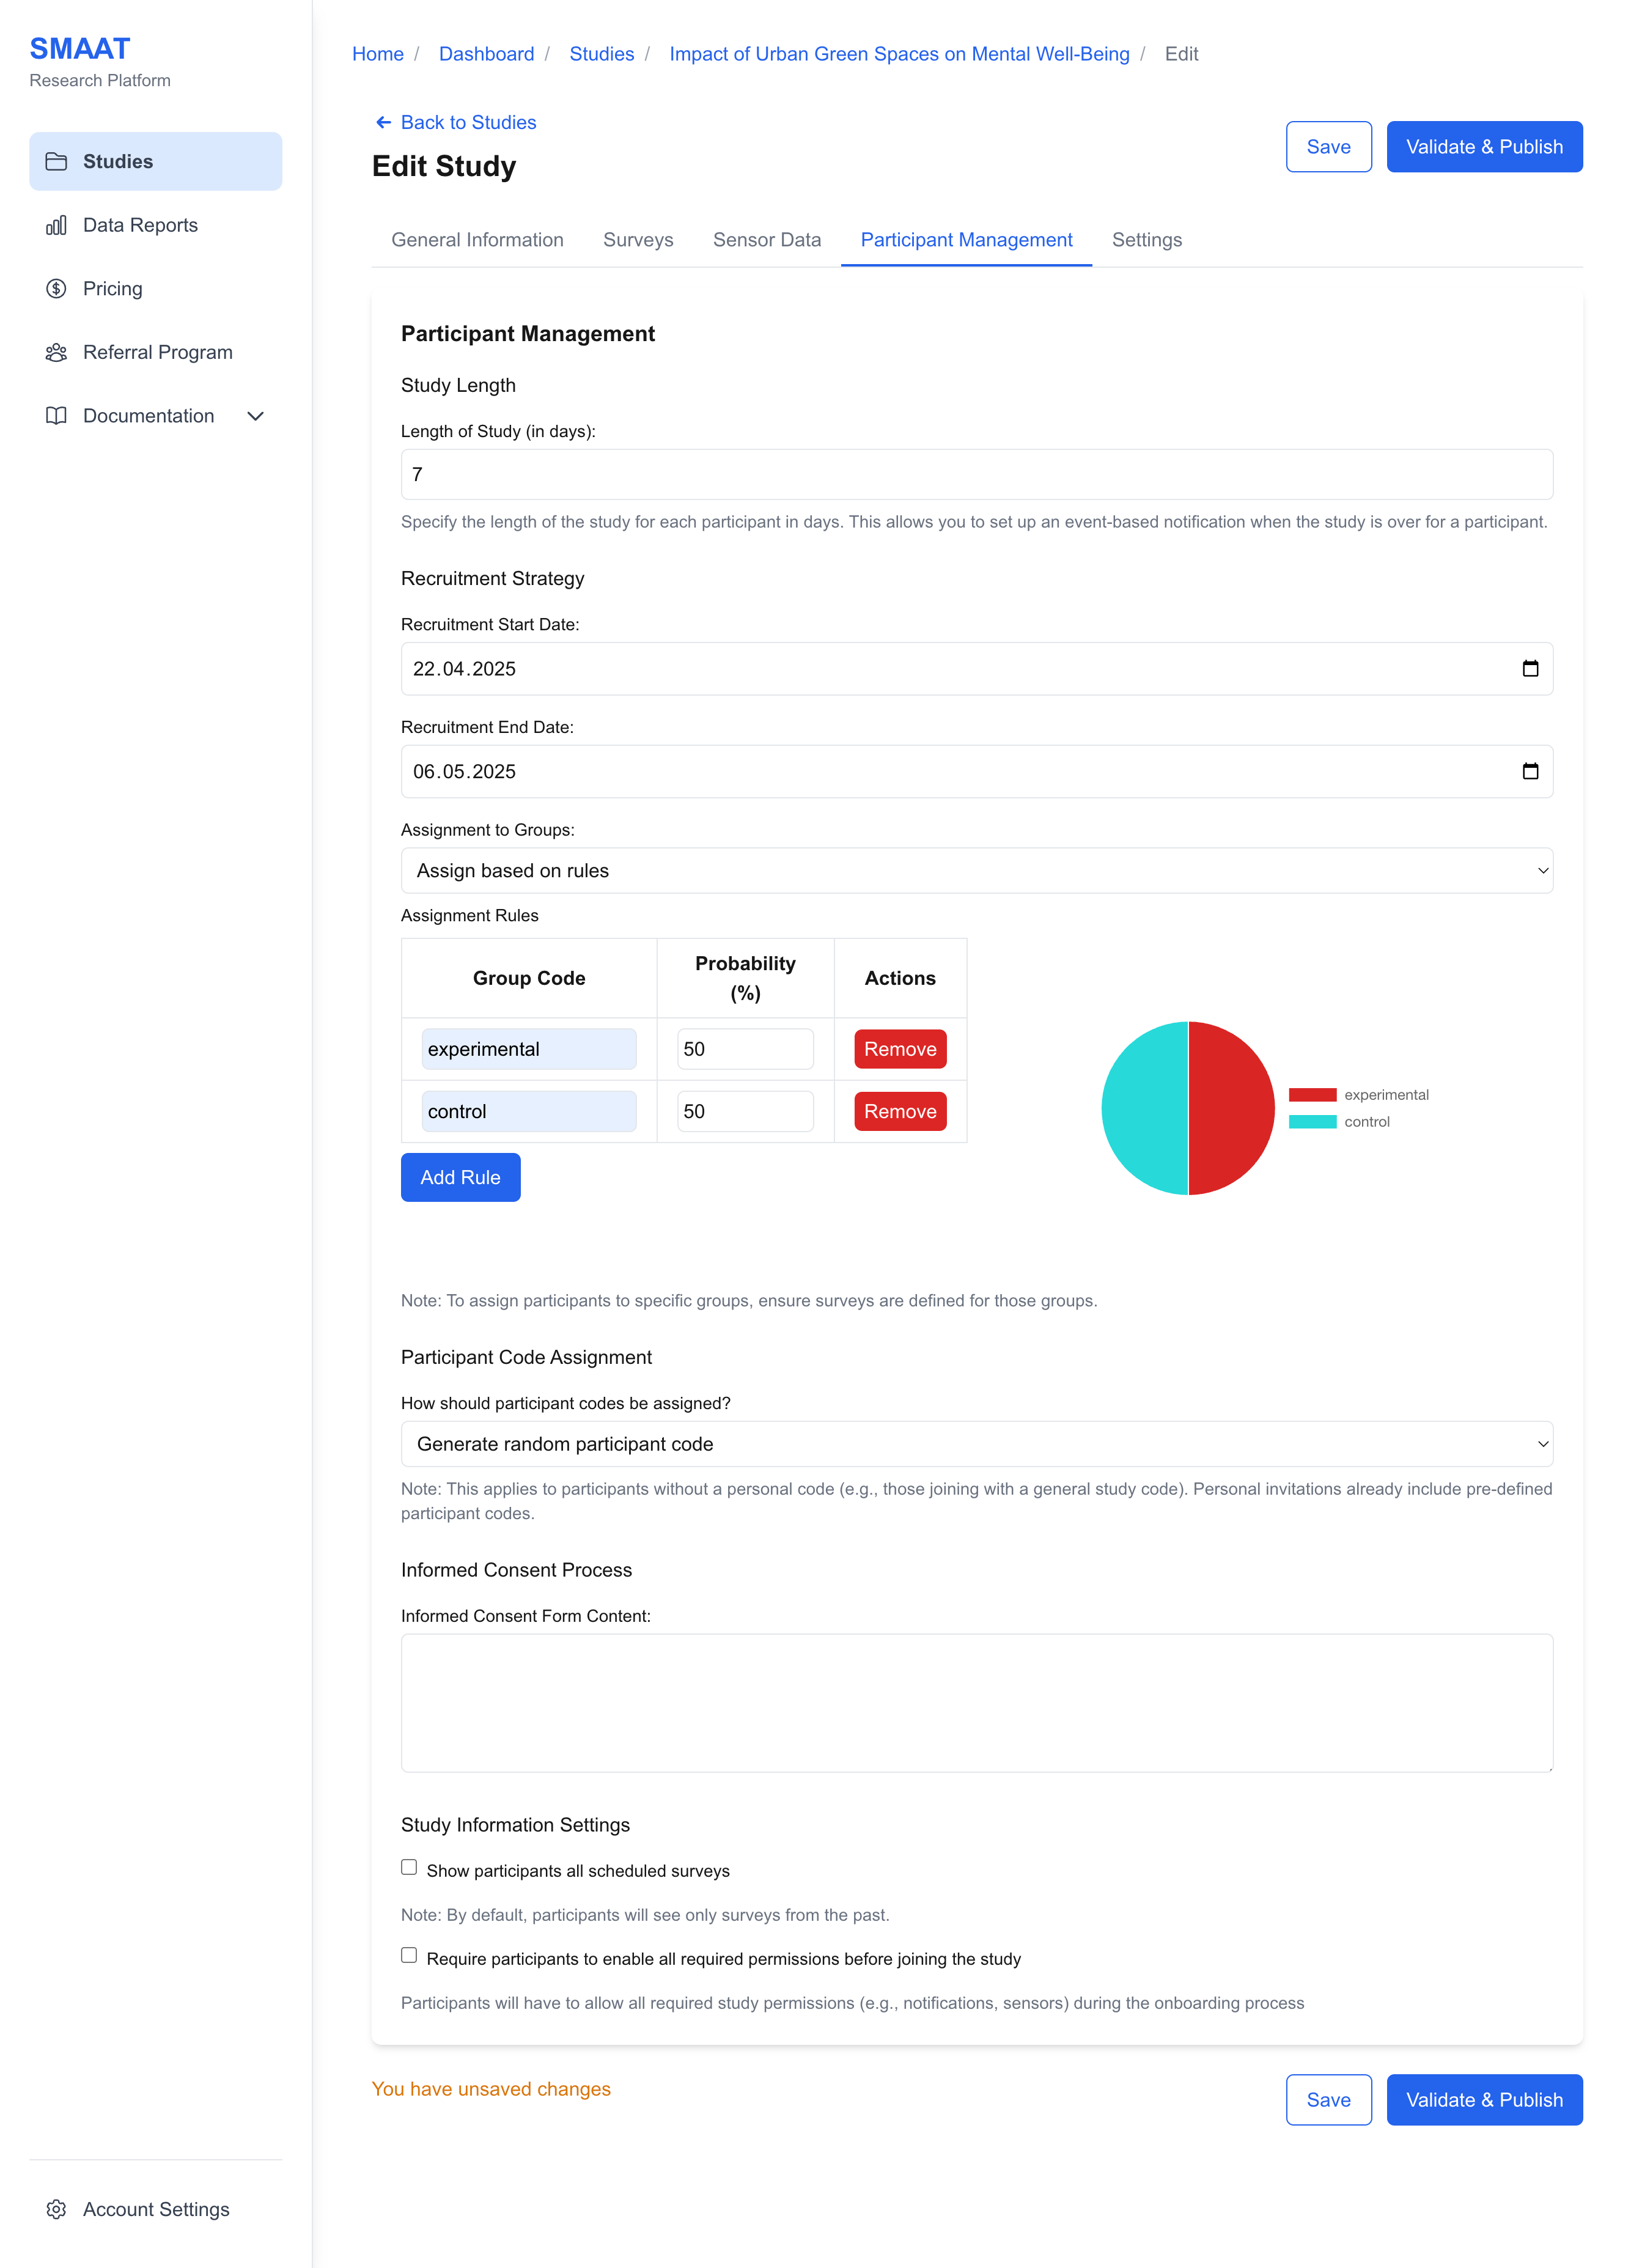
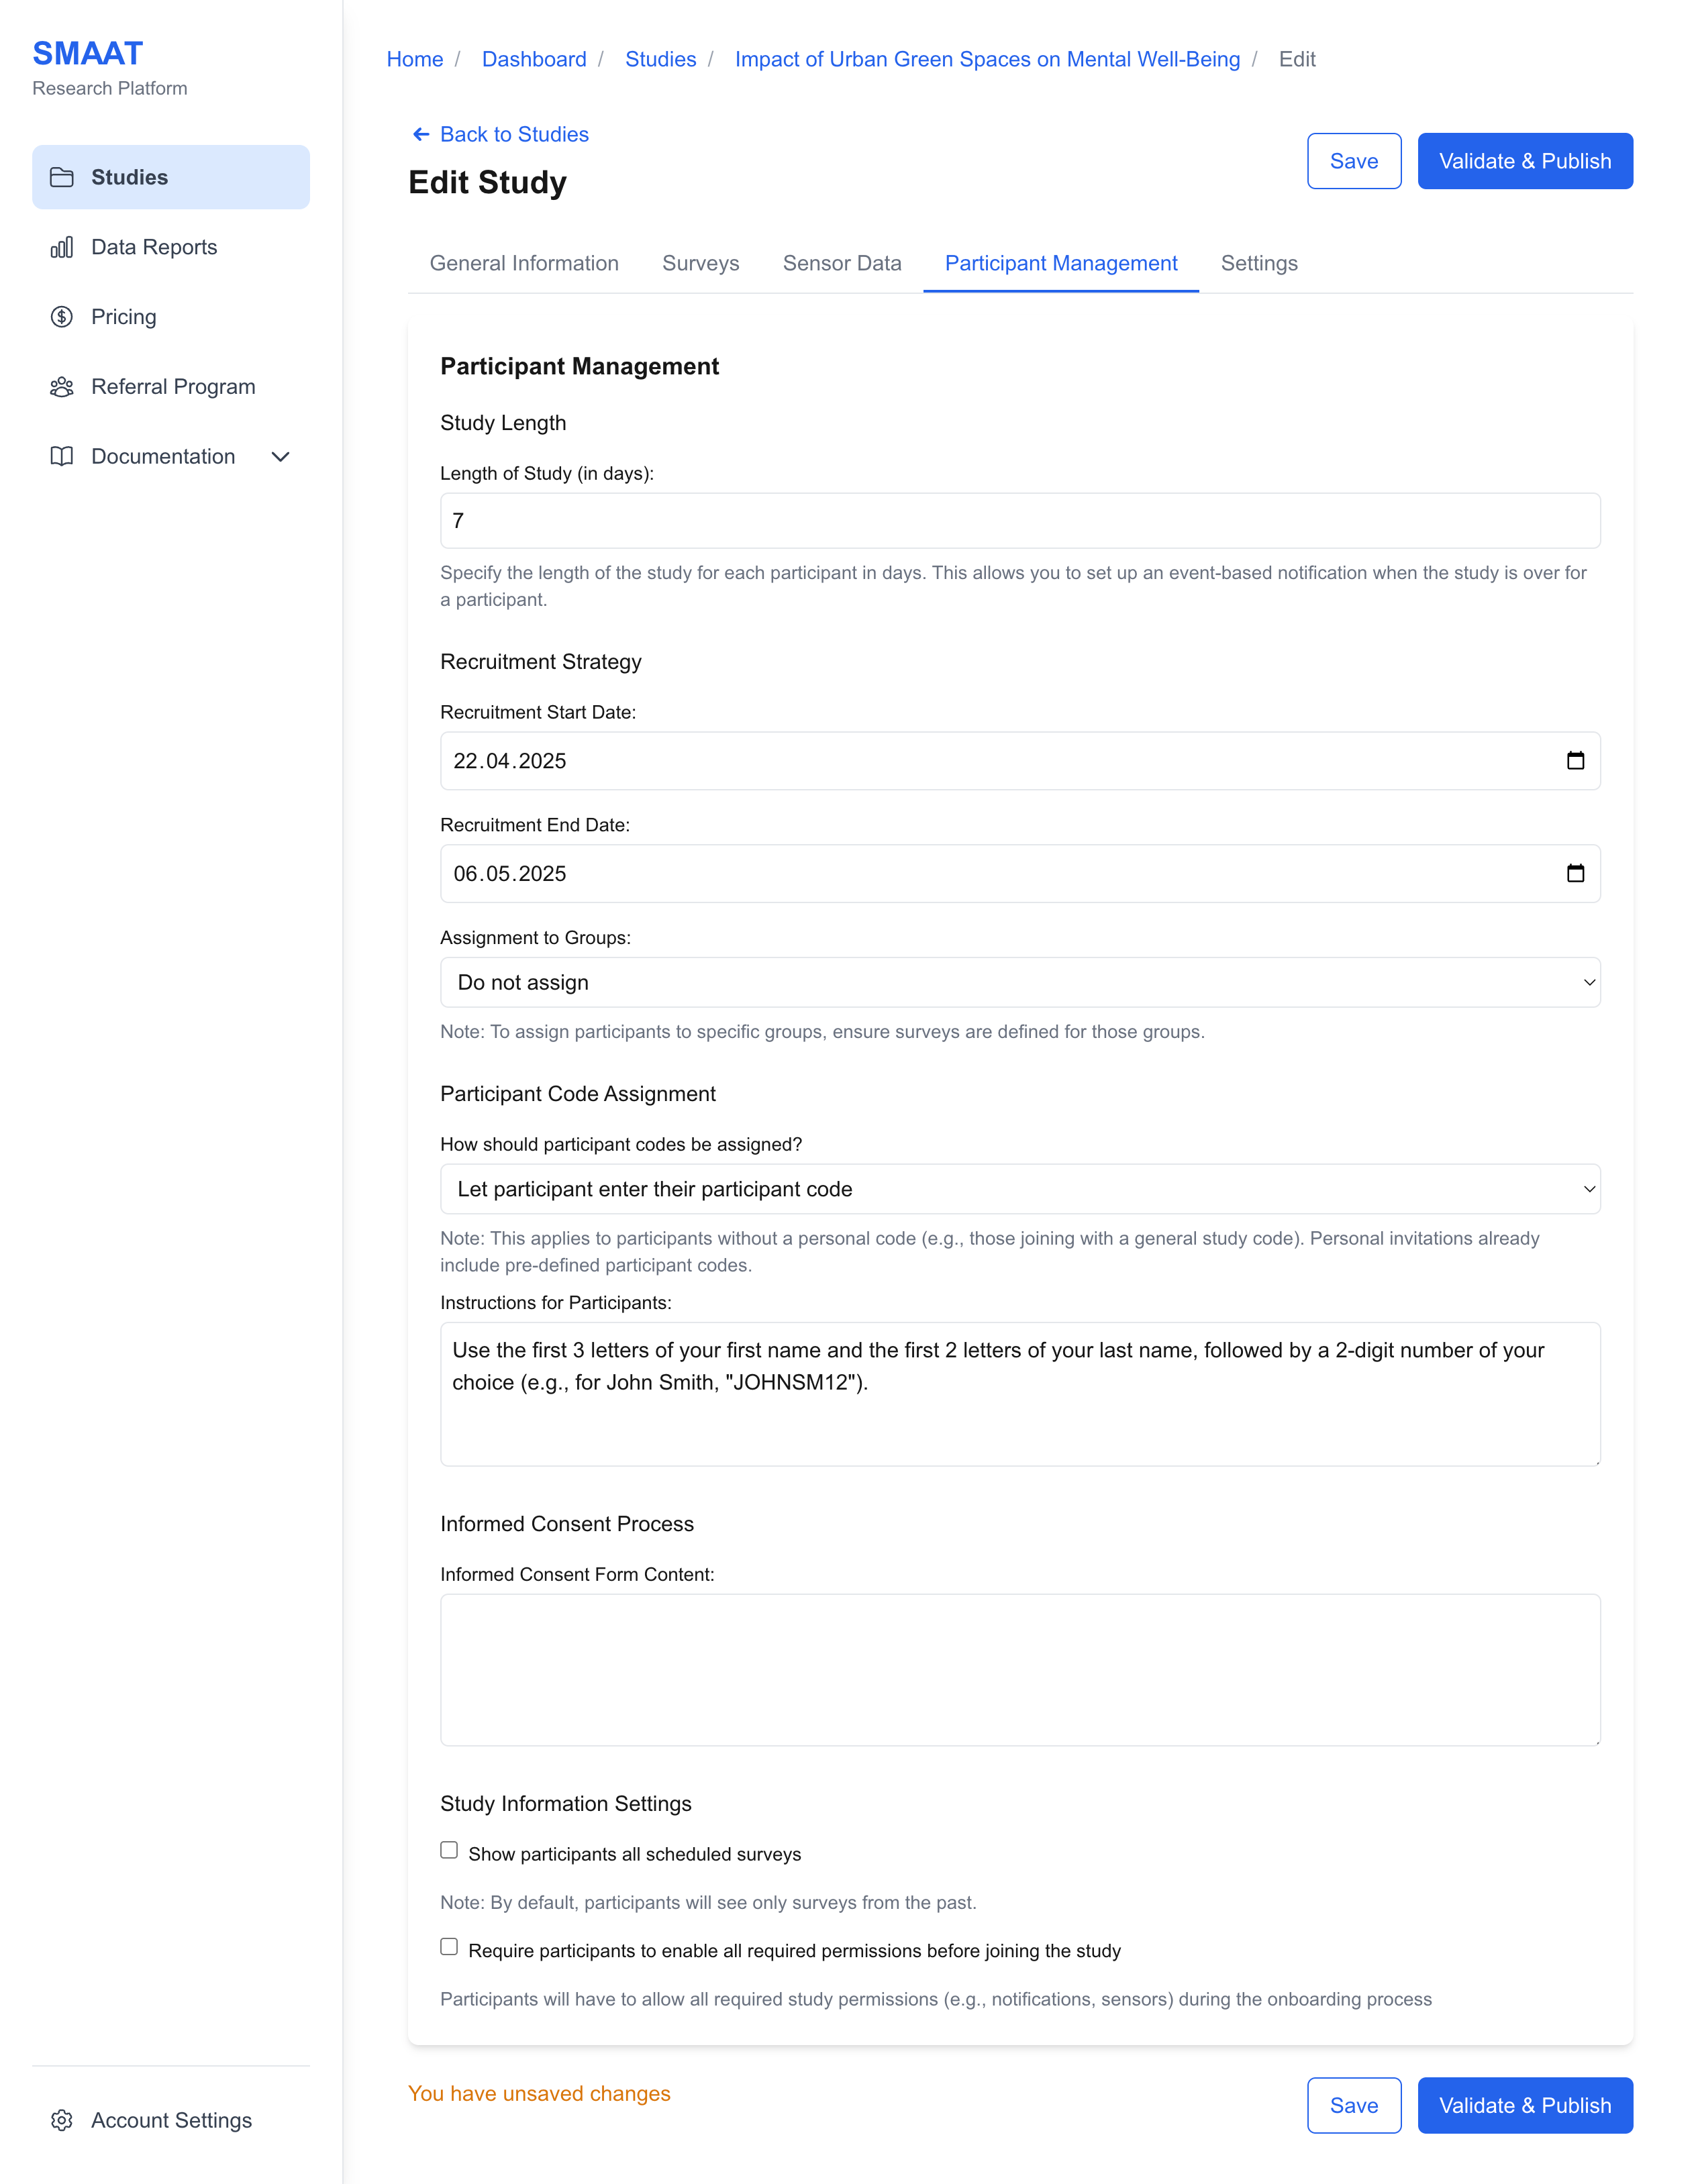
Assignment to Groups
Assign participants to groups to deliver different surveys or conditions. The platform offers several group assignment strategies:
- Do Not Assign: All participants receive the same surveys, with no group differentiation.
- Assign All to a Specific Group: Assign all new participants a specific group code (e.g., “Control”).
- Assign Based on Join Time: Assign group codes based on when participants join (e.g., “Group A” for January joiners, “Group B” for February joiners).
- Assign Based on Rules: Assign group codes probabilistically (e.g., 50% chance for “Group A,” 50% for “Group B”). A pie chart visualizes the distribution.
- Allow Participants to Enter Group Code: Participants input a pre-assigned code, with instructions provided (e.g., “Enter the code provided by your study coordinator”).
- Allow Participants to Select Group Code: Participants choose from a list of group codes, with instructions and options provided.
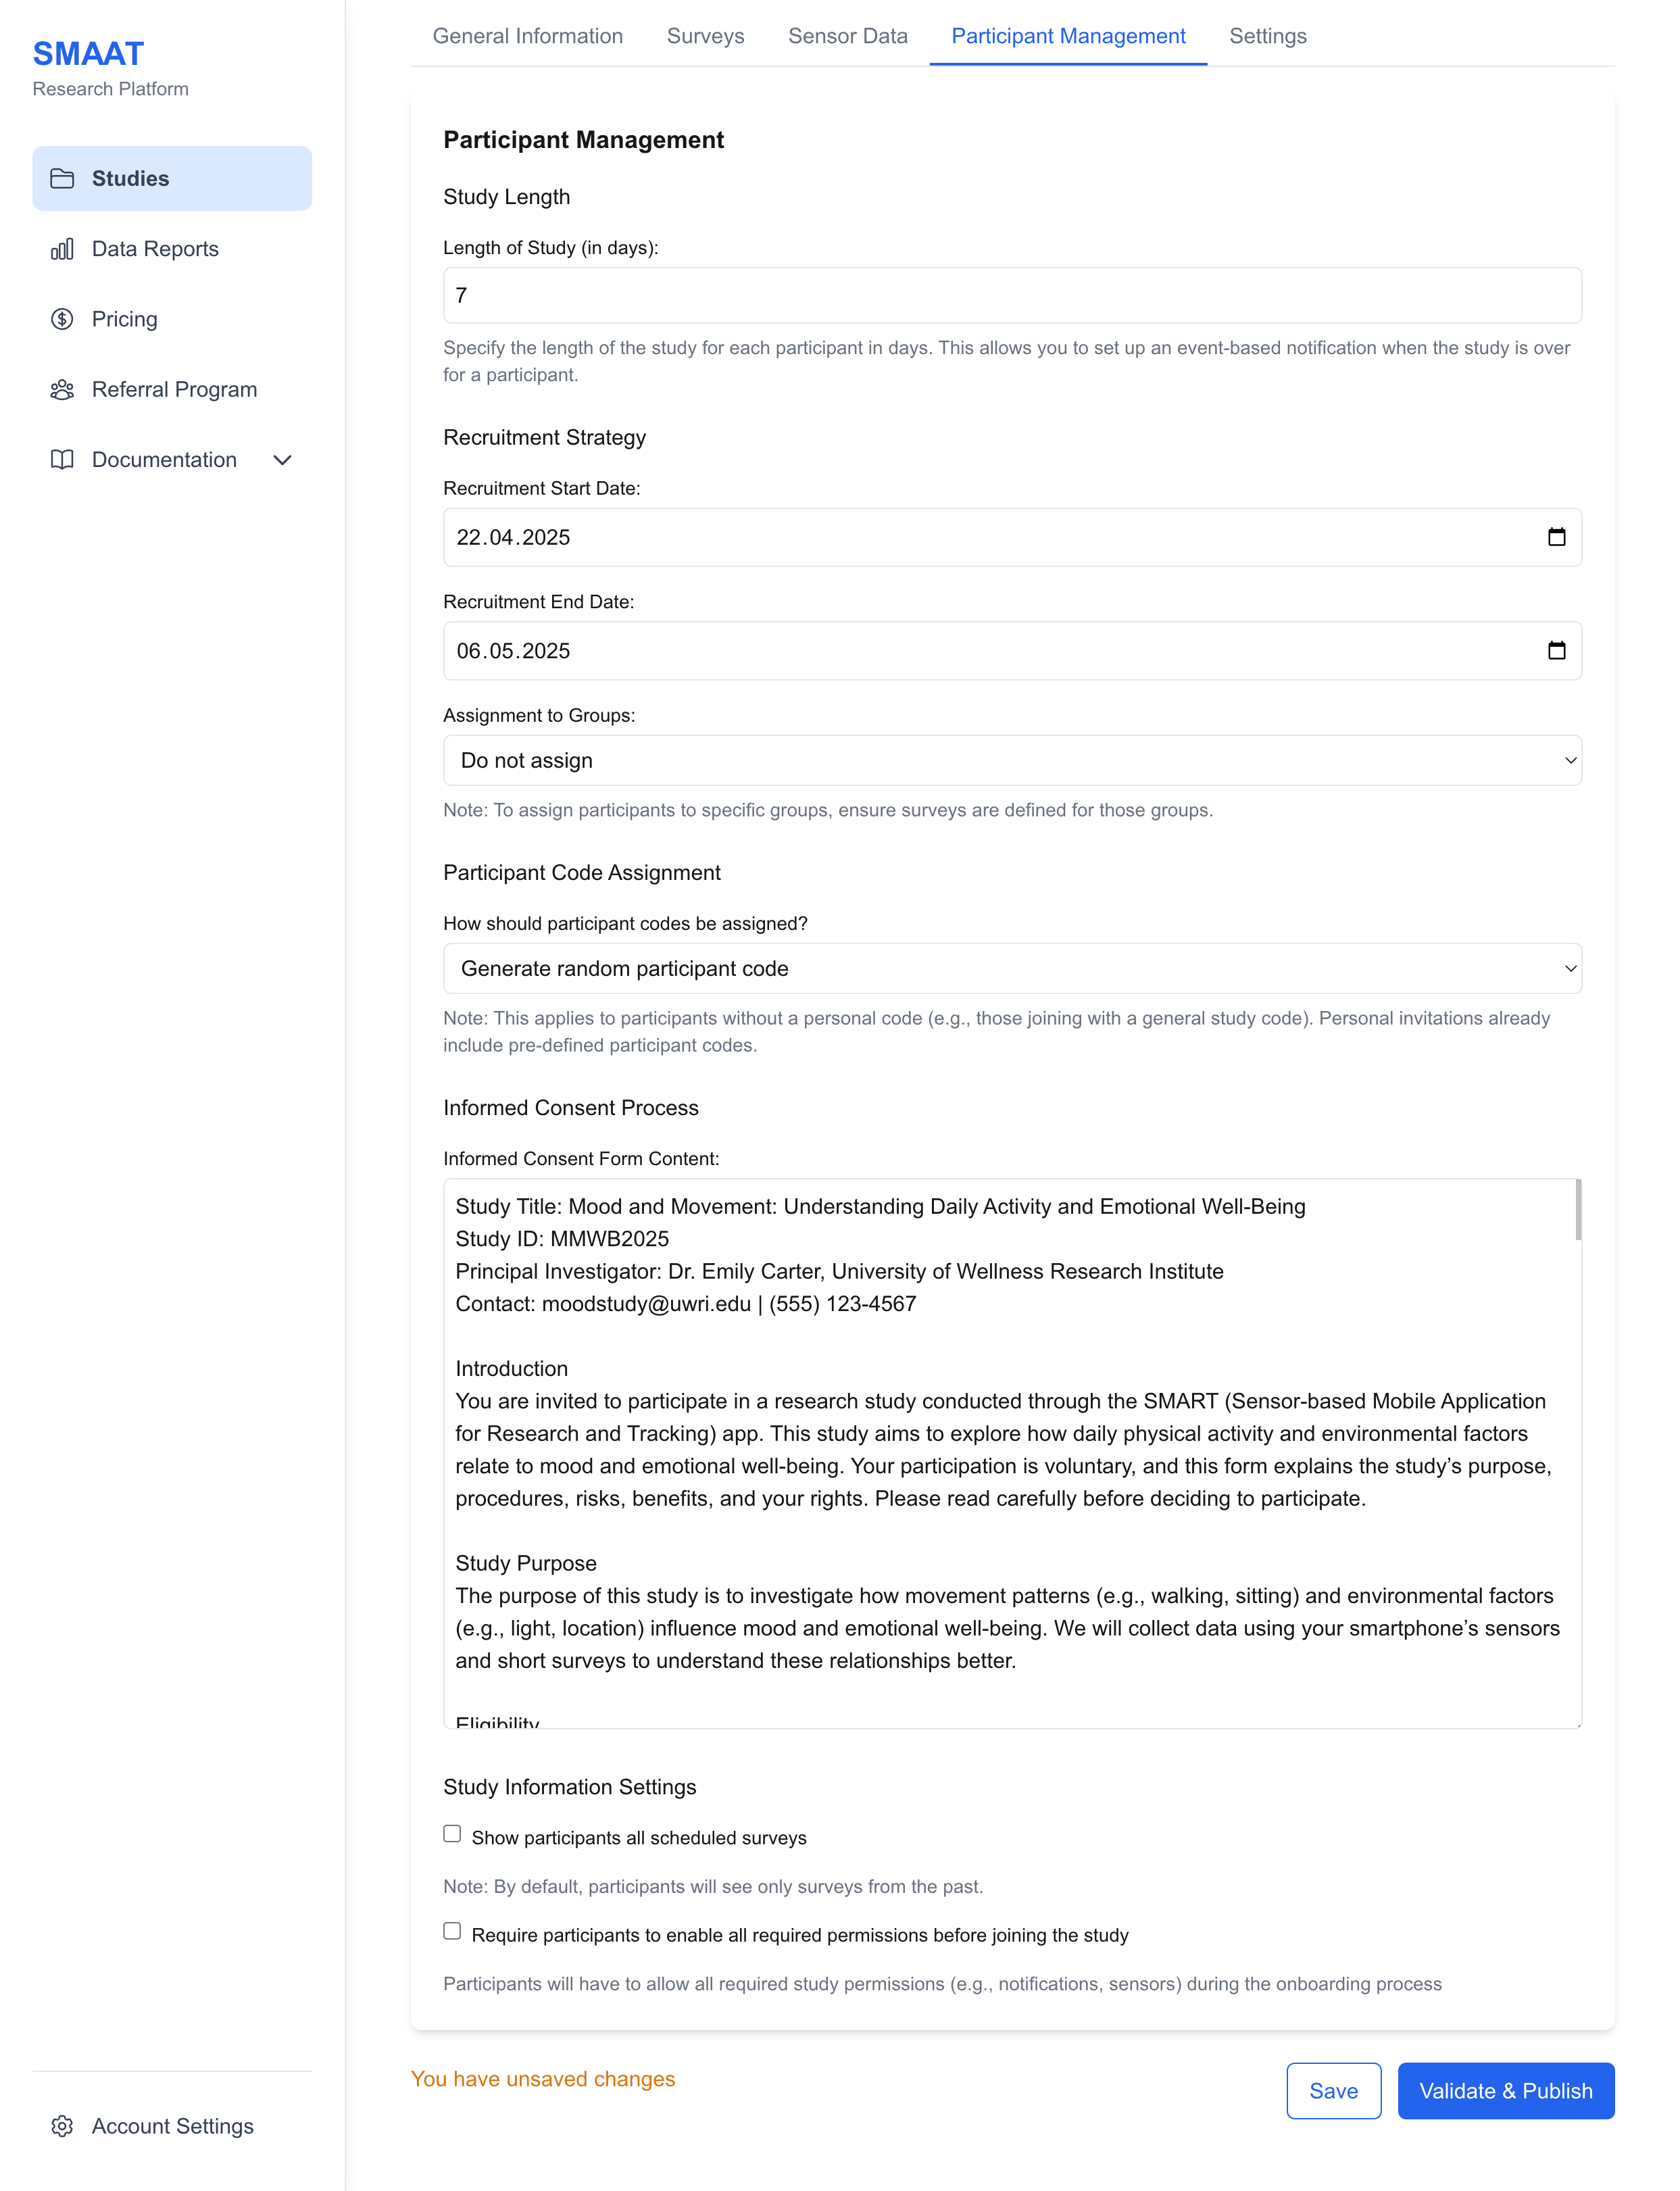
Participant Code Assignment
Assign unique participant codes to identify individuals in your study. Choose from:
- Random Generation: The platform generates random codes (e.g., “P123”) for participants without pre-defined codes.
- Participant-Generated: Instruct participants to create their own codes (e.g., “Use the first two letters of your name and your birth year”).
Informed Consent Form
Enter the text for the informed consent form, which participants must agree to during onboarding. This form is a standard ethical requirement and should detail the study’s purpose, procedures, risks, and participant rights.
Study Information Settings
Customize how study information is presented to participants:
- Show All Scheduled Surveys: Enable to display all planned surveys and their scheduled times in the app. Disable (default) to show only past surveys, useful for randomized schedules.
- Require Permissions Before Joining: Enable to mandate that participants grant all required permissions (e.g., notifications, sensors) during onboarding. Disable (default) to allow joining without permissions, which participants can enable later.
Next Steps
With participant management settings configured, explore the following sections to continue building and managing your research on the SMAAT platform: