Study Management
Managing studies is a core component of the SMAAT platform, enabling researchers to create, customize, and publish research studies tailored to their objectives.
Studies on the SMAAT platform can include surveys, sensor data collection, and participant management settings, all configured through an intuitive web interface. The platform supports both small-scale pilot studies and large-scale research projects, with options to reuse existing templates for efficiency.
Whether you're studying behavioral patterns, health metrics, or environmental interactions, the study management tools offer flexibility and control over every aspect of your research design.
Creating a New Study
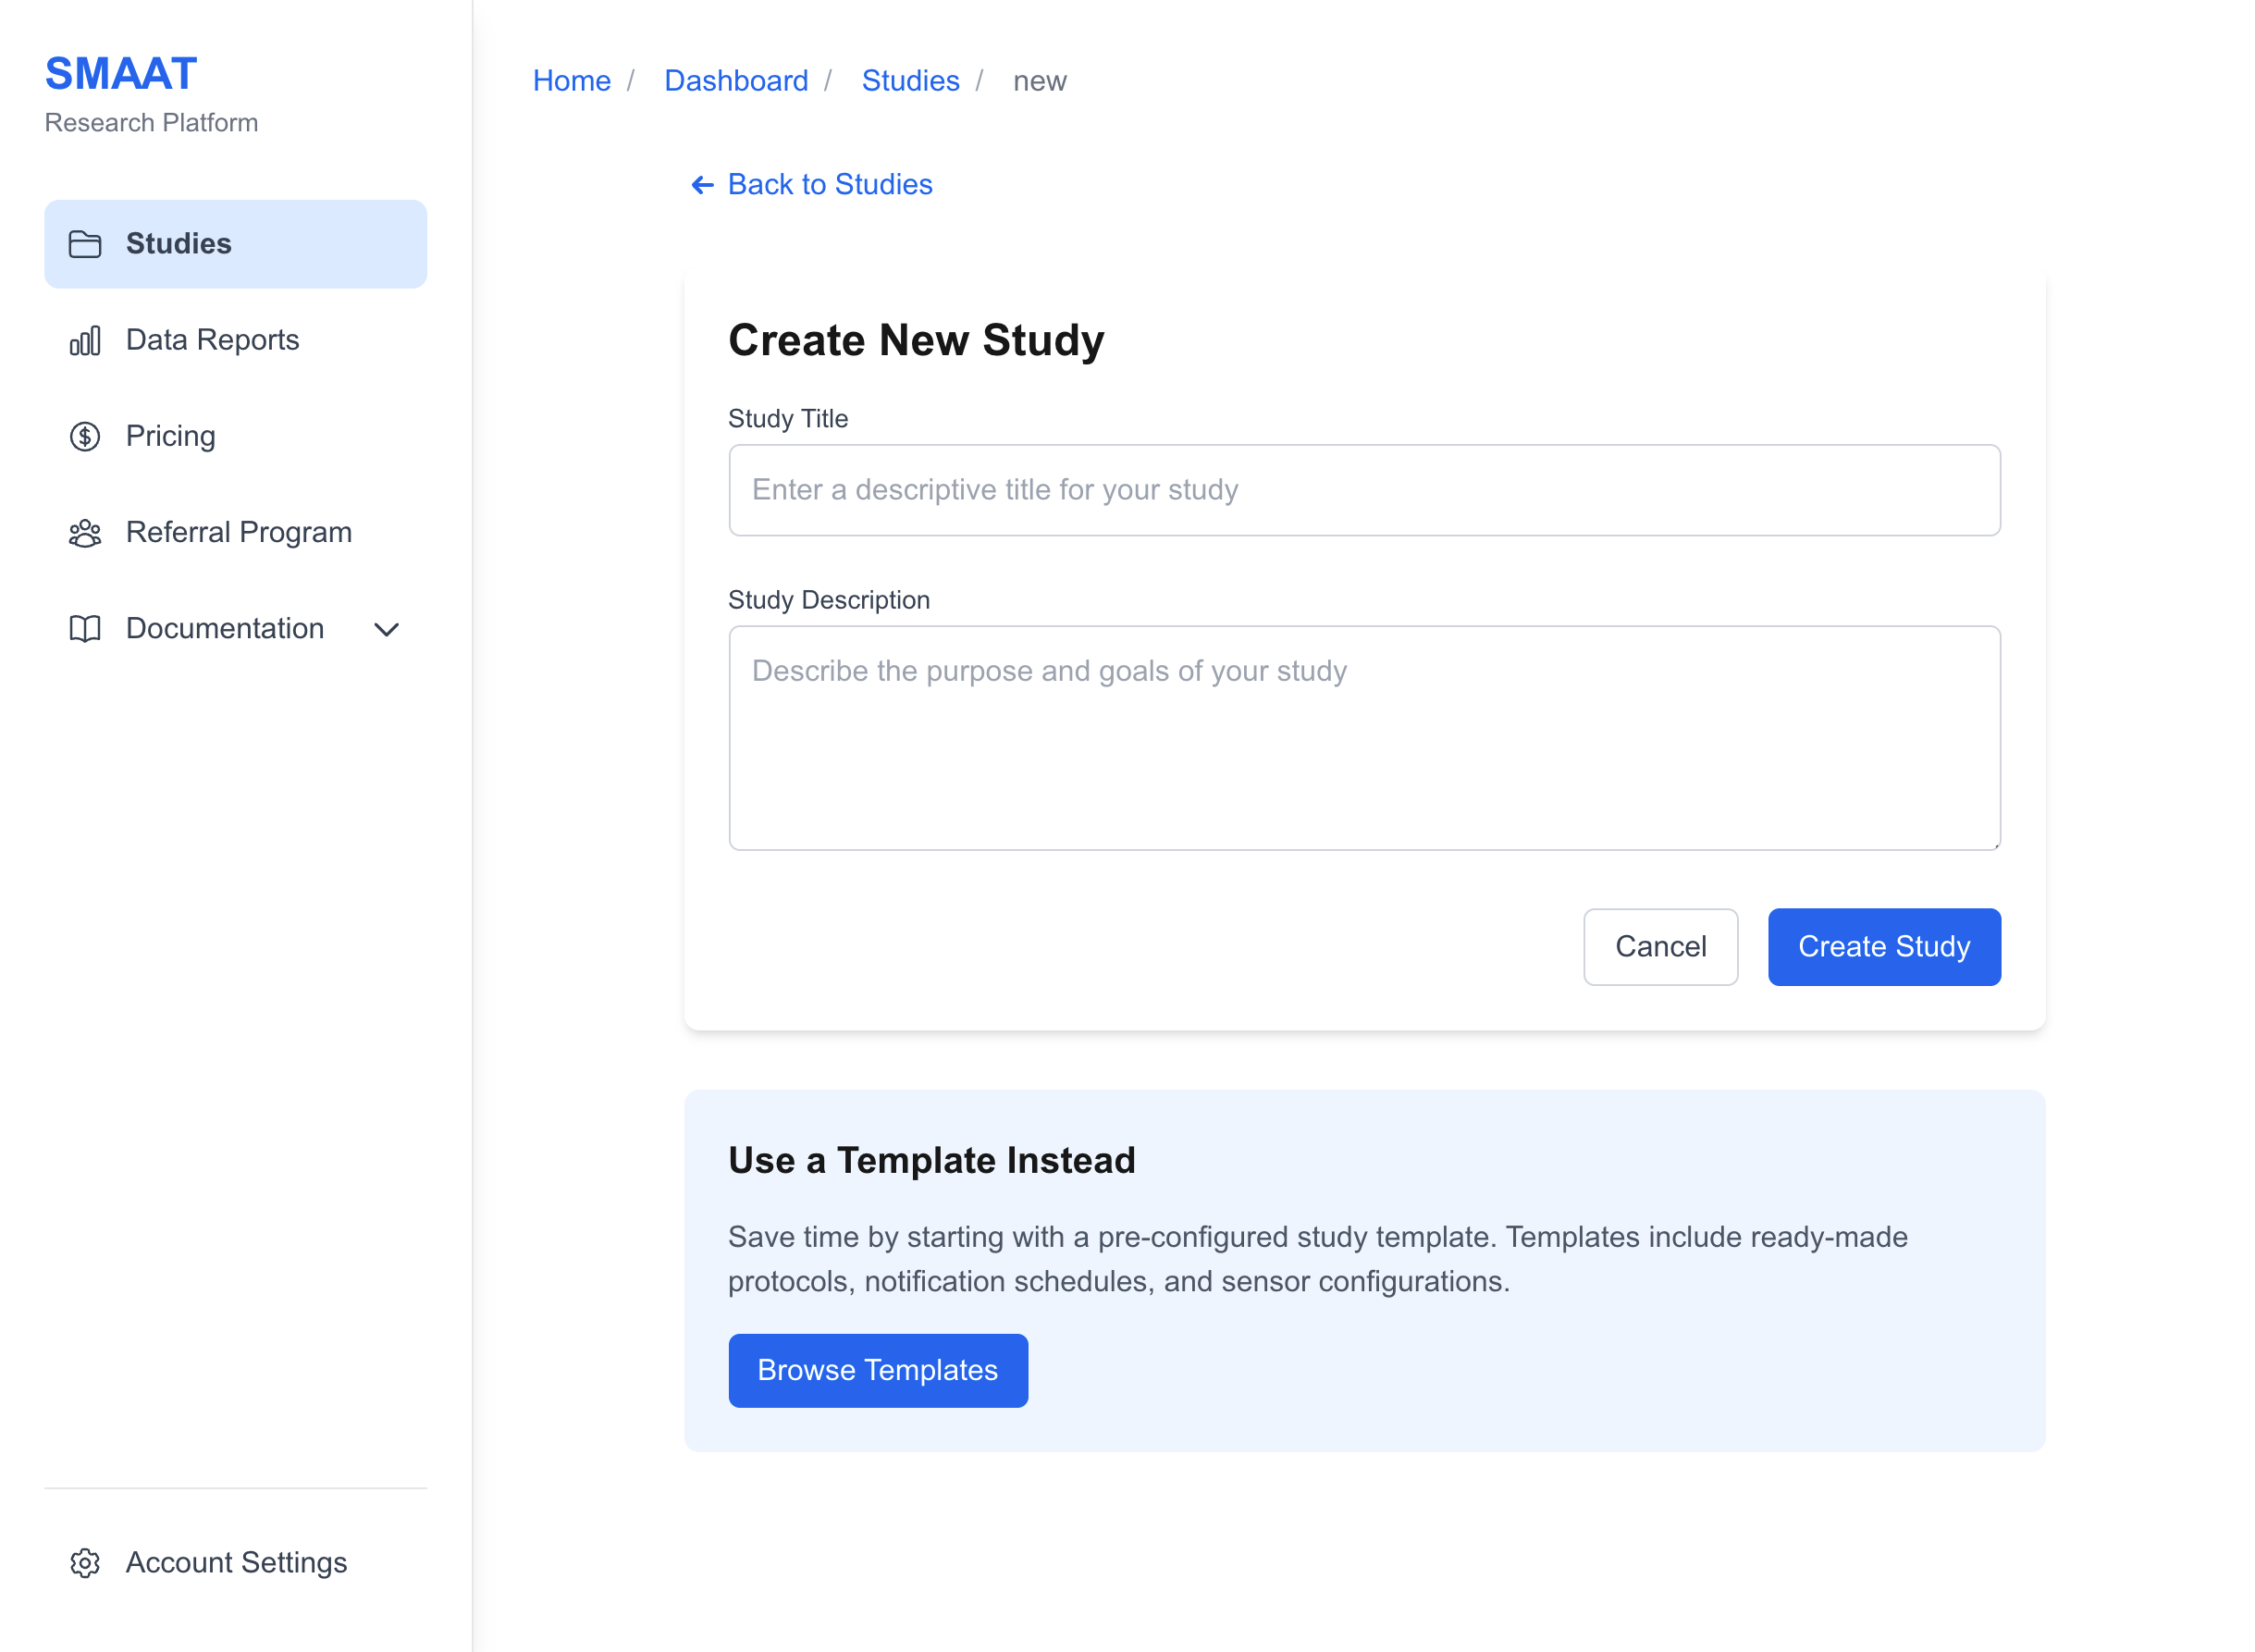
To create a new study, navigate to the studies page at https://smaat.eu/dashboard/studies from the researcher dashboard. This page lists all your existing studies and provides two primary options for creating a new study: starting from scratch or using a public template.
Starting from Scratch
Starting from scratch allows you to design a study tailored to your specific research needs. This approach is ideal when you have a unique study design or when existing templates do not meet your requirements.
- Access the Creation Page: On the studies page, click the Create New Study button.
- Enter Study Details: Provide a descriptive title and a detailed description outlining the study's purpose, objectives, and participant expectations.
- Create the Study: Click the Create Study button to generate the study and open the edit page.
Using a Template
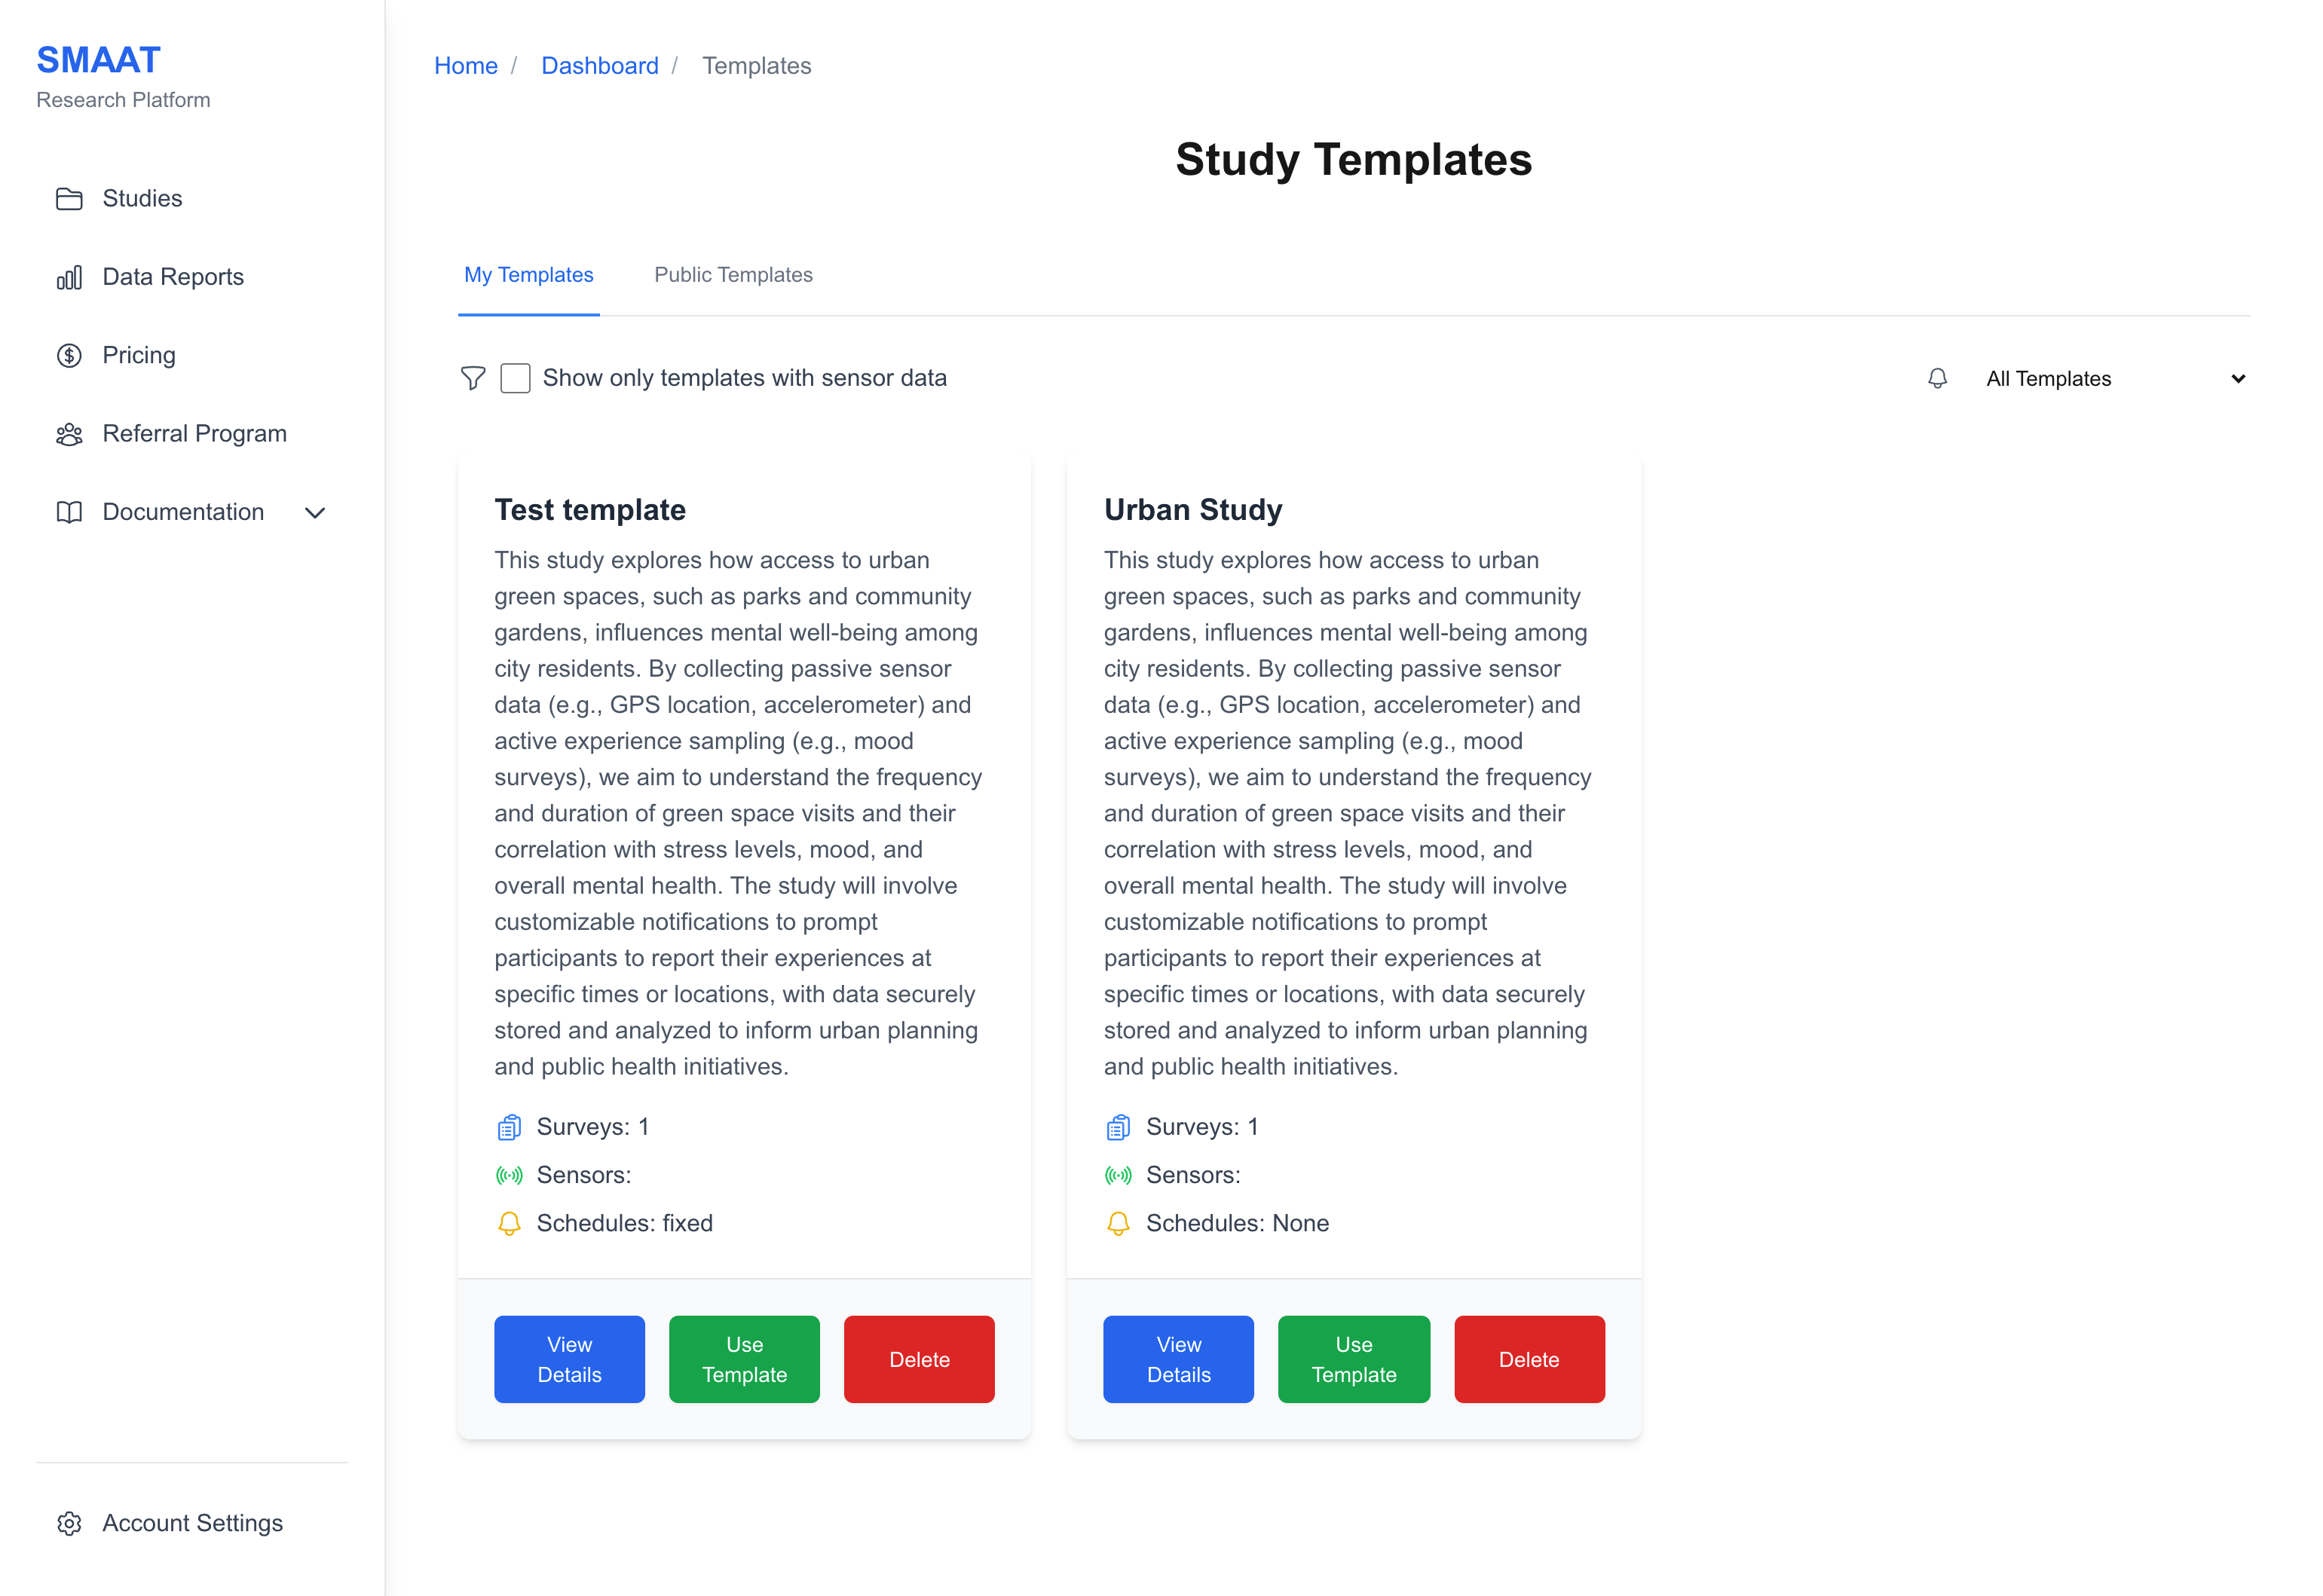
Using a template saves time by providing pre-configured study designs, complete with surveys, sensor settings, and notification schedules. Templates are particularly useful for common research designs or when you're new to the platform.
- Browse Templates: On the studies page, click the Use Template button to open the template library.
- Filter and Explore: Use filters to narrow templates by sensor data or notification type, then open a template card to see included surveys and settings.
- Create from Template: Click Use this template to create a new study with the template's configuration.
Editing a Study
After creating a study, you can edit its details to refine its design or adapt it to new requirements. To access the edit page, go to the studies page, click on the desired study card, and select the "Edit Study" button in the top-right corner.
The edit page is organized into several tabs, each focusing on a specific aspect of the study:
- General Information: Modify the study title, description, contact information, and visual branding.
- Surveys: Design surveys and configure notification schedules.
- Sensor Data: Configure background sensor collection (e.g., GPS).
- Participant Management: Set enrollment rules, group assignments, and consent forms.
- Settings: Manage templates, encryption, and study deletion.
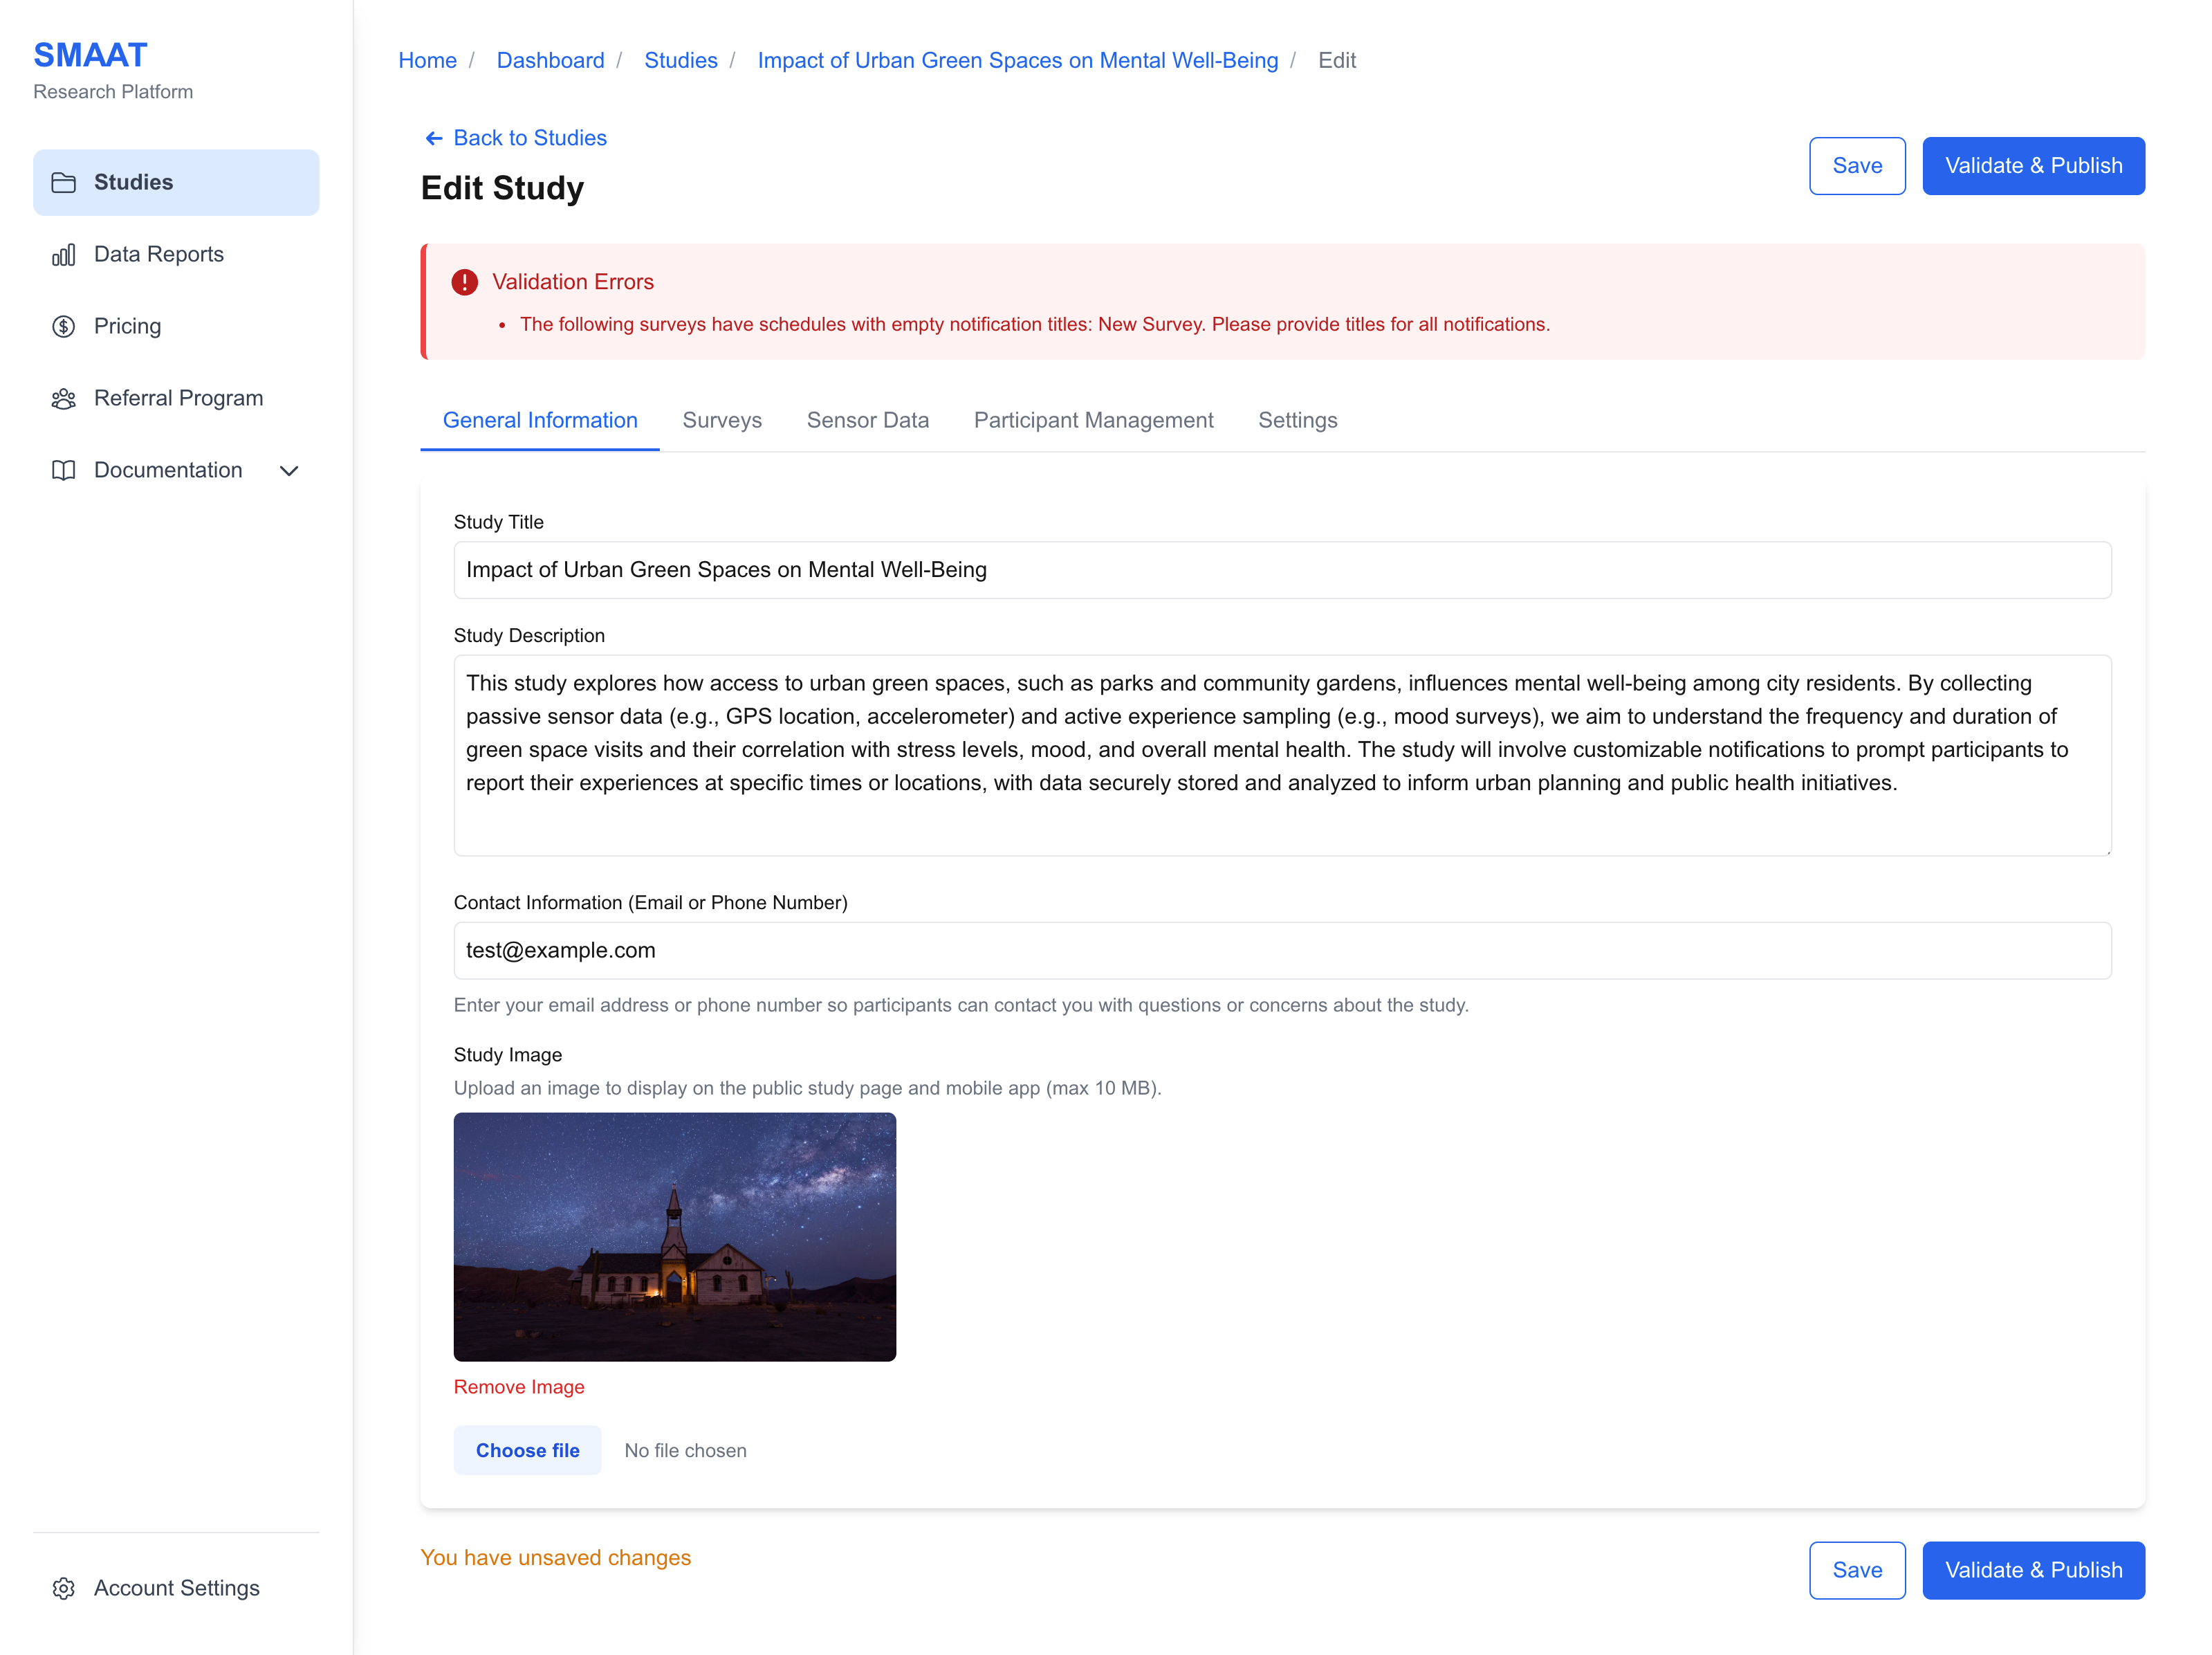
General Information Tab
The General Information tab allows you to modify the study's title, description, contact information, and visual branding.
- Title and Description: Refine the text to clearly communicate the study purpose and expectations.
- Contact Information: Provide an email address or phone number visible to participants.
- Study Image: Upload a logo or relevant graphic to represent the study.

Saving and Publishing
As you edit your study, you can save your progress at any time by clicking the "Save" button in the top-right corner of the edit page. Saving ensures your changes are preserved without making the study live.
When you're ready to make the study accessible to participants, click the "Validate & Publish" button. The platform performs a validation check to ensure:
- At least one survey exists with at least one question.
- Notification schedules are properly configured.
- Required participant settings are defined.
If validation passes, the study's status changes from "Draft" to "Published." For existing participants, notifications will be scheduled immediately. For new participants, notifications are scheduled upon joining the study.
Next Steps
With your study created and published, explore the following sections to continue building and managing your research: